Elmesthorpe Limestone Floor Restoration
A Complete Technical Case Study
We undertook a comprehensive limestone floor restoration in Elmesthorpe, restoring floors originally installed 20 years ago. Over a 10-day period, we meticulously restored the stone across multiple rooms, ensuring every tile, edge, and grout line received professional attention. This project also provided insight into advanced limestone restoration techniques, from grinding and resin repair to polishing and protective finishing.
Stage 1: Grinding and Surface Preparation
Restoring natural limestone tiles begins with careful preparation:
Mechanical grinding of main areas using professional floor restoration machines to remove wear and surface imperfections.
Hand-grinding edges, corners, and grout lines to ensure tiles are flat, level, and perfectly aligned with the grout lines. The result is a completely even surface across the floor.
Use of 50 and 100 grit metal-bonded diamond abrasives to remove scratches, surface damage, and spalling.
At the 100 grit stage, we performed resin repairs, filling chips, holes, and other imperfections with colour-matched resin. Multiple shades were blended to match the natural tones of the limestone, making repairs invisible once polished.


Stage 2: Stone Stabilisation
Once the surface was level and repaired, we applied Faber MM, a professional stone stabiliser and sealer, to strengthen the limestone and prepare it for polishing.
Next, we moved through resin diamond polishing stages, carefully blending repairs and refining the stone’s surface. A limestone densifier was then applied to close micro-pores, increasing surface hardness and enhancing polishing clarity and durability.
Stage 3: Polishing
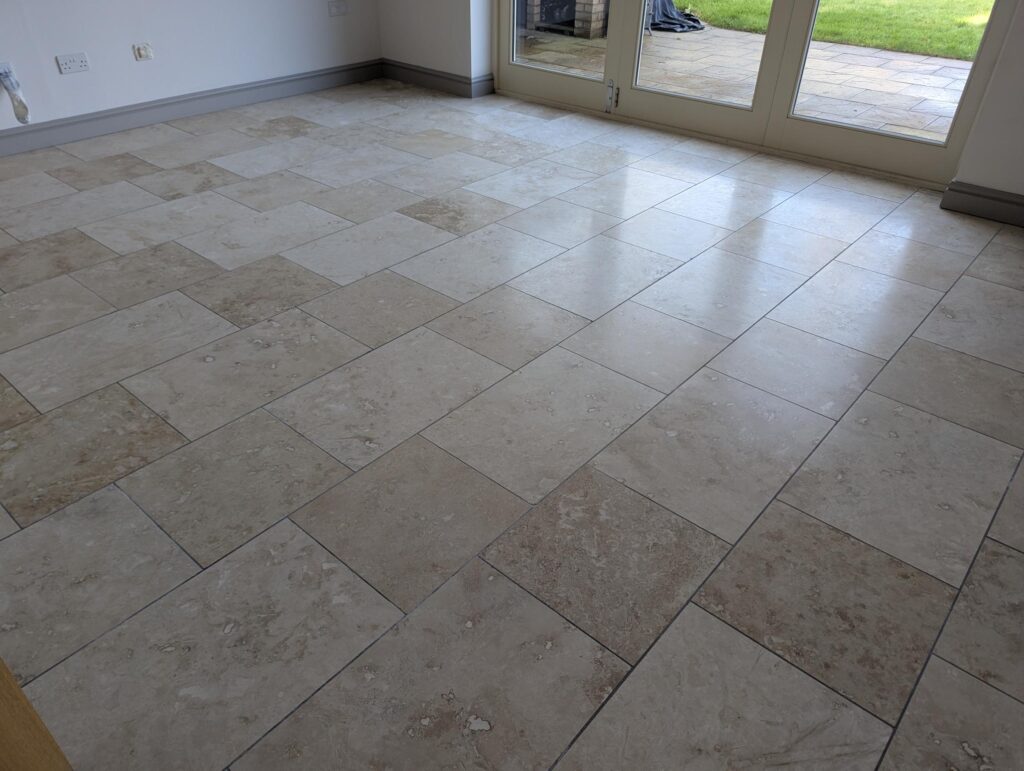
With the stone stabilised and densified, we used specialised polishing powders to gradually bring out the limestone’s natural shine. This stage also revealed the stone’s fossils, veins, and natural markings, preserving its character while achieving a smooth, reflective surface.
Stage 4: Sealing and Protection
To protect the restored limestone, we applied Stone Soap, a professional maintenance sealer that:
Enhances natural colour and tones
Provides a protective layer against stains and wear
Supports long-term cleaning and maintenance


Stage 5: Final Clean and Reveal
The project concluded with a thorough clean-down, ensuring all dust and residues were removed. The limestone’s fossils and natural features were beautifully revealed, showcasing the stone’s unique history and character. The customer was thrilled with the transformation, highlighting the importance of restoring rather than replacing.

Why Choose Professional Limestone Floor Restoration?
Precision Grinding: Ensures flat, level tiles and removes surface imperfections.
Colour-Matched Resin Repairs: Seamlessly fills chips and holes.
Stone Stabilisation & Densification: Strengthens limestone for polishing.
Professional Polishing: Enhances clarity, shine, and natural features.
Protective Sealing: Long-lasting finish that maintains beauty and durability.
Fossil & Feature Preservation: Highlights natural characteristics without damage.
FAQs – Limestone Floor Restoration
Q: How long does a limestone floor restoration take?
Projects vary depending on the size and condition of the floors. Each restoration is carefully planned and executed on a project-by-project basis to ensure the best results.
Q: Will the fossils and natural features of limestone be preserved?
Yes. Our careful polishing process highlights fossils, veining, and markings, enhancing the stone’s natural character.
Q: Is the polishing process safe for limestone?
We use diamond abrasives, densifiers, and polishing powders specifically designed for limestone, ensuring durability without damaging the stone.